
December 14, 2025
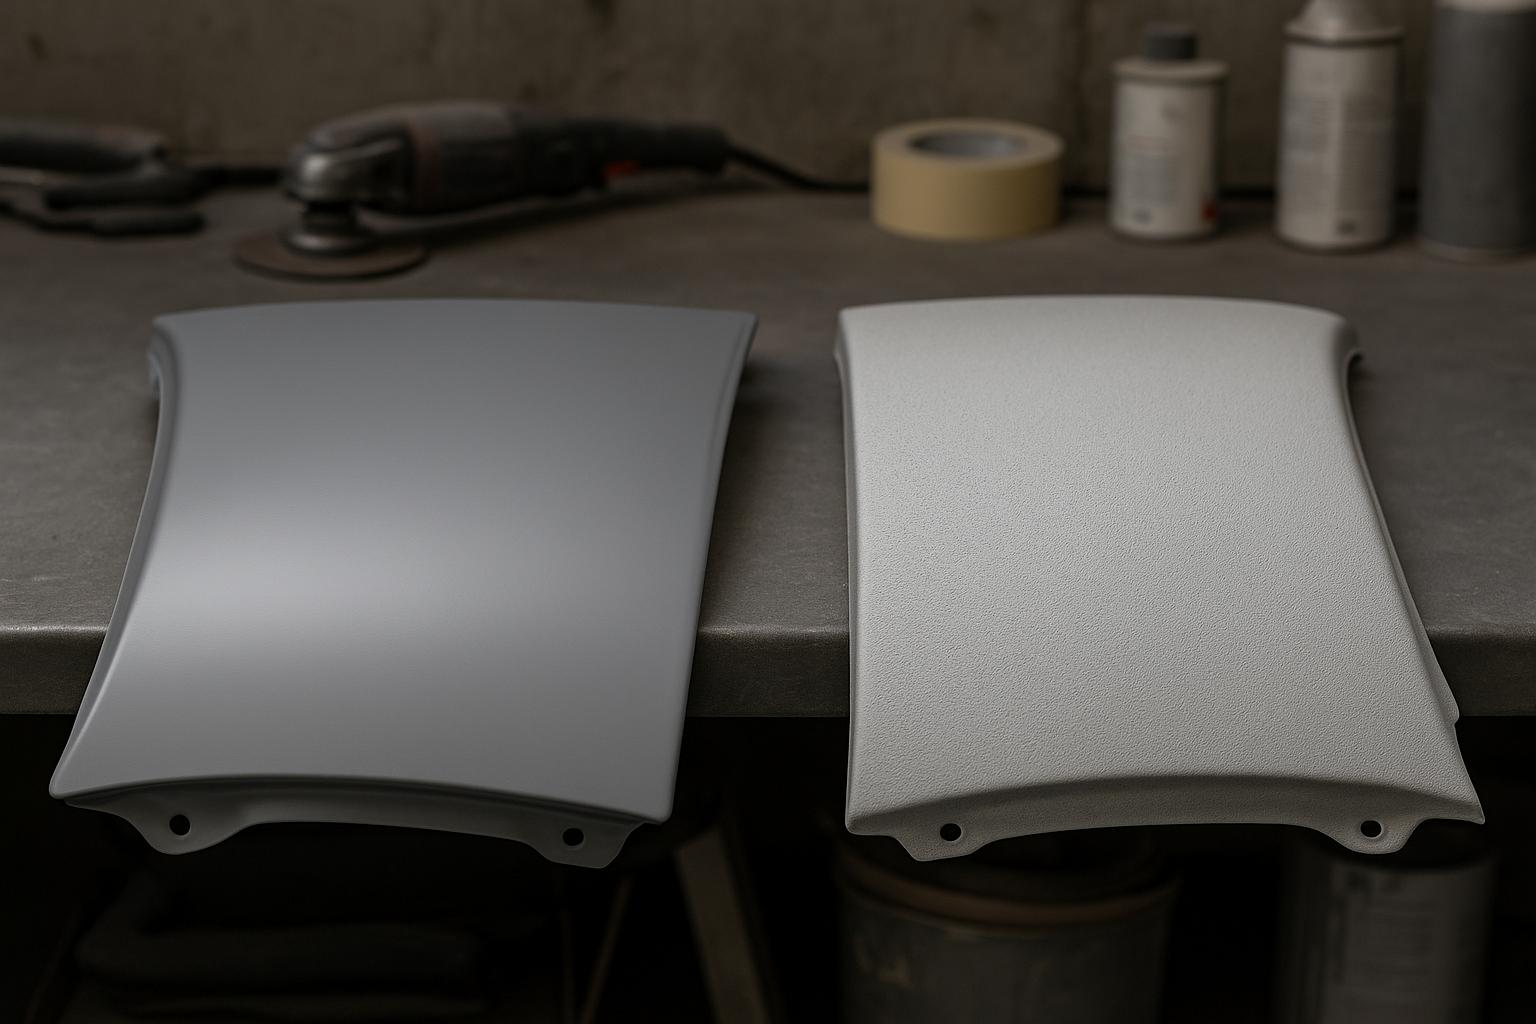
When repairing auto body panels, epoxy primer and sandable primer each serve distinct purposes. Epoxy primer is ideal for protecting bare metal from rust and moisture, while sandable primer is designed for smoothing and leveling surfaces before painting. For the best results, professionals often combine both: epoxy primer seals the metal, and sandable primer refines the surface. Here’s a quick breakdown:
Quick Comparison:
| Feature | Epoxy Primer | Sandable Primer |
|---|---|---|
| Adhesion | Strong on bare metal | Best over epoxy or filler |
| Corrosion Resistance | High | Low |
| Sandability | Difficult | Easy |
| Film Build | Thin | Thick |
| Best Use | Rust prevention | Surface refinement |
For durable, professional results, start with epoxy primer on bare metal, then use sandable primer to create a smooth, paint-ready finish. This combination ensures long-lasting repairs and a polished look.
Epoxy primer is a two-part coating designed to bond directly to bare metal, creating a protective shield against moisture and corrosion. It works effectively on both steel and aluminum, forming a barrier that helps stop rust from developing underneath. This makes it an essential first layer for professional repairs.
In areas with high humidity or for projects that take weeks to complete, applying epoxy primer early on is especially important. Most professionals recommend applying 2–3 coats of epoxy primer right after the metal is stripped and prepped. This ensures the surface remains protected and stable throughout the repair process.
Sandable primer, also known as 2K urethane or polyester primer, is specifically designed to fill in surface imperfections and create a smooth, even surface for further work. Its key advantage lies in its ability to shape and level the repaired area. To enhance this process, many technicians use a guide coat - a contrasting powder or spray - on top of the sandable primer. This guide coat highlights high and low spots during block sanding, making it easier to achieve a perfectly flat finish.
Once the metal is prepped, each type of primer plays a specific role in ensuring a durable and professional repair.
The process starts with preparing the bare metal by stripping, cleaning, and sanding it with 80-grit sandpaper. After that, epoxy primer is applied to seal the metal and protect it from corrosion. Once the epoxy has cured, body filler is used to restore the panel's shape and contour. After shaping the filler, sandable primer is applied to address any remaining imperfections and create a smooth surface for final block sanding. The repair is completed with a sealer application, followed by paint.
Epoxy primer offers a strong bond to bare metal, creating a waterproof layer that helps prevent rust. This makes it especially useful for older vehicles that are more vulnerable to corrosion. Unlike other primers that sit on the surface, epoxy primer penetrates and seals the metal, providing a reliable shield against oxidation.
Another advantage is its versatility - it adheres well to various bare metal surfaces, which is particularly important when dealing with modern vehicles that use a mix of materials. If you're working in a humid environment or on a project that might take weeks to complete, epoxy primer continues to protect the metal, even when repairs are delayed. Professionals typically apply 1–2 thin coats after prepping the metal with 80-grit sandpaper and cleaning it with alcohol or Prepsol for the best results.
That said, epoxy primer does have some drawbacks.
Once it cures, epoxy primer becomes extremely hard, making it challenging to sand - similar to working with glaze. It also has a low film build, which limits its ability to smooth out surface imperfections. Applying it too thickly can make sanding even more difficult and hinder achieving a uniform finish. For filling surface imperfections, a 2K high-build primer is a better choice.
Despite its challenges, epoxy primer is ideal for areas where bare metal is exposed and corrosion protection is critical. This includes rust repairs, collision damage that reveals raw metal, and full restorations of older vehicles. The typical process involves applying epoxy primer directly to clean, bare metal, allowing it to cure, and then adding body filler as needed. If new bare metal becomes exposed during the repair process, a thin second coat of epoxy can be applied before switching to a high-build primer. It's worth noting that heavy sanding should be avoided for at least seven days to ensure the primer has fully cured. This step-by-step approach ensures a durable and effective protective layer throughout the repair.
Sandable primers, often 2K urethane high-build primers, are designed to make block-sanding and surface refinement more efficient. Unlike epoxy primers, which can clog sandpaper and are harder to sand, sandable primers allow for smoother sanding across large panels. This makes them an excellent option for leveling body filler, filling pinholes, and eliminating sanding scratches before applying paint.
Their high film build provides plenty of material for shaping and contouring. Typically, 2K primers build up 1.5–3.0 mils per coat, and with multiple layers, they can reach 4–8 mils. This thickness is ideal for block-sanding, helping technicians create a smooth and level surface for the sealer and basecoat - especially important in collision repairs where straight panels and a refined texture are essential.
While sandable primers offer many advantages, they do come with some downsides. One of the main issues is their limited corrosion resistance compared to epoxy primers. Sandable primers are more porous and not designed to act as long-term moisture barriers. If a vehicle is left exposed with only sandable primer - especially outdoors for extended periods - it can absorb moisture. This can lead to swelling and surface mapping, which might show through the topcoat later. For this reason, professionals typically apply sandable primer over epoxy, OEM finishes, or body filler, as it’s not meant for direct-to-metal use.
Another drawback is the need for quick topcoating. Many refinishing systems require sealing and painting soon after applying sandable primer to avoid potential issues like chalking or hidden corrosion. This means an efficient workflow is critical to ensure the primer performs as intended.
Sandable primer is best suited for collision repairs and refinishing projects where achieving smooth panel contours and a flawless surface for painting is the priority. In a typical repair process, epoxy primer is first applied to protect bare metal, while sandable primer is used to refine and prepare the surface for the sealer and topcoat. This combination allows for both corrosion protection and easy sanding.
Choose sandable primer when the focus is on surface refinement and contouring, rather than maximum rust prevention. It’s particularly effective in workflows that involve multiple block-sanding cycles on repaired areas or blending repairs into the surrounding OEM paint. Technicians often apply sandable primer only to the repair area, feathering it into the existing finish. Afterward, they block, seal, and blend the color to achieve a factory-smooth finish while staying within OEM film build guidelines.
This approach is widely used in professional collision repair centers, like 1st Choice Collision, to deliver a refined surface texture while ensuring the underlying protection remains reliable.
Here’s a quick breakdown of how epoxy primer and sandable primer stack up:
| Feature | Epoxy Primer | Sandable Primer (2K High-Build) |
|---|---|---|
| Adhesion | Bonds exceptionally well to bare metal with a strong chemical hold | Sticks well to epoxy and OEM finishes but not suitable for bare metal |
| Corrosion Resistance | Provides excellent protection, acting as a moisture barrier | Limited protection; porous and not meant for long-term corrosion defense |
| Film Build | Thin (1–2 mils per coat) | Thick (1.5–3.0 mils per coat; can reach 4–8 mils total) |
| Sandability | Tough to sand; clogs sandpaper | Easy to sand; designed for block-sanding |
| Moisture Protection | Shields metal from water and oxygen | Minimal; can absorb moisture if left uncovered |
| Cost | Typically moderate to high | Generally moderate |
Epoxy primer plays a critical role in repair work, especially after applying body filler. It adheres strongly to bare metal and offers top-tier corrosion resistance, making it ideal for protecting exposed surfaces. However, it’s not designed for building up thickness, and its sandability leaves much to be desired. On the other hand, sandable primer excels in creating a smooth, refined surface. It builds up well and sands effortlessly, making it perfect for achieving a flawless finish.
Professional repair shops often use these primers together for the best results. The process typically starts with a thin coat of epoxy primer to protect bare metal. After applying and sanding body filler, a second light coat of epoxy is added to cover any newly exposed metal. Finally, sandable high-build primer is applied to the entire repair area, allowing for easy block-sanding and a smooth, paint-ready surface. This layered approach balances corrosion protection with surface refinement, ensuring a durable and polished repair.
Deciding which primer to use depends on your specific repair needs:
For the best results in collision repair, combine the two. Start with a thin coat of epoxy primer on bare metal for protection, apply body filler as needed, touch up exposed spots with another light epoxy layer, and finish with sandable high-build primer. This method ensures both durability and a professional-grade finish.

Professional Auto Body Repair Workflow: Dual-Primer Method with Epoxy and Sandable Primer
Professional repair shops follow a meticulous process to ensure both durability and a smooth finish. It all starts with preparing the metal - stripping, cleaning, and sanding to create a solid mechanical bond. Technicians sand the surface with 80-grit paper, ensuring the primer adheres properly.
The first step is applying the epoxy primer. After blowing off dust and degreasing, 1–2 medium coats of epoxy primer are sprayed over the bare metal and feathered edges of the original coatings. This layer seals out moisture and establishes a strong chemical bond. Once the epoxy cures, following the manufacturer's guidelines, body filler is applied to even out low spots or imperfections. The filler is then block-sanded until smooth.
The dual-primer method becomes essential during this phase. If sanding the filler exposes any bare metal, those areas are immediately spot-primed with epoxy to restore the corrosion barrier. After this touch-up layer cures, the repair area is coated with 2K urethane high-build sandable primer. A guide coat is then applied, allowing technicians to block-sand the surface and remove waves, pinholes, and other small flaws. This process results in a perfectly smooth surface, ready for painting.
The dual-primer approach ensures the repair balances corrosion resistance and a top-notch finish. Epoxy primer acts as a thin, continuous barrier against moisture, typically applied in 1–2 coats to avoid excessive buildup that could crack or show through the topcoat. Meanwhile, the sandable primer provides the thickness needed for thorough block-sanding, allowing for precise surface refinement without cutting through to the layers below.
Shops like 1st Choice Collision use this method to deliver repairs that are both durable and visually flawless. By applying epoxy primer where protection is critical and sandable primer for surface perfection, they meet the high standards of both longevity and appearance that customers expect.
Choosing the right primer strategy plays a crucial role in ensuring both the durability of a repair and the quality of the finish. It’s not a simple either-or decision - each type of primer has its own strengths. Epoxy primer excels at protecting bare metal from moisture, while sandable primer is ideal for building thickness and creating a smooth surface. However, epoxy primer is thinner and harder to sand, making it less effective for addressing surface imperfections. On the other hand, sandable primer doesn’t provide the same level of moisture resistance, which is vital for preventing rust over time.
The most effective method combines the strengths of both primers: epoxy primer seals and protects the bare metal, body filler shapes the surface, and sandable primer creates a flawless base for painting. This multi-layered approach, as described earlier, is how professionals achieve long-lasting protection and a factory-quality finish. It minimizes the risk of delamination, ensures a uniform appearance, and meets the high standards of modern collision repair demands. Misusing primers, however, can lead to expensive repair failures.
For smaller DIY projects where bare metal isn’t exposed, a good sandable primer might do the job. But when bare metal needs protection or when durability is a priority, the dual-primer method is essential. Professional repair shops are well-versed in these techniques, applying the right products in the correct order to ensure repairs stand up to everyday wear and tear.
At 1st Choice Collision, this dual-primer system is standard practice for every repair. Their team of experts ensures each step is executed with precision, balancing protection and finish quality. Plus, every repair is backed by their lifetime nationwide guarantee, offering peace of mind along with a flawless finish.
When it comes to achieving a flawless finish for your vehicle, using both epoxy primer and sandable primer together is a game-changer. Epoxy primer lays the groundwork by offering strong adhesion to the surface while guarding against rust and corrosion. It’s the protective layer your vehicle needs. Meanwhile, sandable primer works to smooth out any imperfections, creating a perfectly even surface that’s ready for paint. By combining these two, you get enhanced durability, better paint adhesion, and a finish that looks like it came straight from a professional shop.
Epoxy primer serves as a tough, moisture-resistant base coat that bonds strongly to bare metal, providing excellent protection against rust and corrosion. Its thicker consistency demands precise application to prevent drips, making it perfect for sealing surfaces before adding more layers.
Sandable primer, by contrast, is tailored for effortless sanding and surface refinement. Commonly used over body filler, it helps create a smooth, paint-ready finish. While it doesn’t match the protective qualities of epoxy primer, it shines when it comes to preparing surfaces for painting.
Humidity plays a crucial role in how well epoxy primer performs during auto repairs. When humidity levels are high, moisture can get trapped beneath the primer. This can result in problems such as weak adhesion, bubbling, or even corrosion over time.
For optimal results, epoxy primer should be applied in a controlled setting with low humidity. This not only ensures a smooth, long-lasting finish but also helps protect the vehicle's surface from potential damage down the road.